Nothing beats the smell of a fresh vanilla cake baking in the oven.
It’s simple, timeless, and always a crowd-pleaser, whether it’s for a birthday, celebration, or just because—it never goes out of style.
This step-by-step guide will show you exactly how to make a soft, fluffy vanilla cake from scratch. No complicated tools. No baking experience needed.
Just easy instructions, basic ingredients, and a perfect cake every time.
Ingredients List
Dry Ingredients
- 2½ cups (315g) all-purpose flour
- 2½ tsp baking powder
- ½ tsp salt
- (Optional) 2 tbsp cornstarch – for a softer crumb
Wet Ingredients
- 1 cup (226g) unsalted butter, at room temperature
- 1¾ cups (350g) granulated sugar
- 4 large eggs, at room temperature
- 1 cup (240ml) whole milk or buttermilk
- 1 tbsp pure vanilla extract (or vanilla bean paste)
- (Optional) ¼ cup (60g) sour cream or Greek yogurt – for extra moisture and richness
💡 Pro Tip: Always use pure vanilla extract or vanilla bean paste for the best flavor. Avoid imitation vanilla—it lacks depth and aroma.
Tools & Equipment Needed
Mixing Bowls (Large and Medium)
You’ll need at least two bowls—one large for the main batter and one medium for mixing dry ingredients separately. Use sturdy, non-slip bowls if possible. Glass or stainless steel bowls work best for even mixing and easy cleanup.
Measuring Cups and Spoons
Accurate measurements are key to a successful cake. Use dry measuring cups for flour and sugar, and liquid measuring cups for milk. Don’t eyeball it—small measurement errors can change the texture completely. Always level off dry ingredients with a flat edge.
Electric Mixer or Whisk
A handheld or stand mixer makes creaming butter and sugar much faster and more consistent. If you don’t have one, a sturdy whisk can do the job, but be prepared for more elbow grease. An electric mixer will also help incorporate air into the batter for a fluffier cake.
Sifter (Optional but Recommended)
Sifting flour helps prevent lumps and adds air, resulting in a lighter cake. It also blends dry ingredients evenly. If you don’t have a sifter, a fine-mesh strainer works well too. This step isn’t required, but it noticeably improves texture.
Cake Pans – Two 8-Inch Rounds or One 9×13-Inch Pan
Choose non-stick pans if you have them. Grease and line with parchment paper for easy release. Two 8-inch round pans are perfect for a layered cake. A 9×13-inch pan works great for a single-layer sheet cake. Both bake evenly with this recipe.
Parchment Paper
Cut parchment paper to fit the bottom of your pan. This prevents sticking and makes it easier to remove the cake after baking. It’s an extra step that saves you from broken or torn cake layers.
Cooling Rack
Once baked, the cake needs to cool on a rack. A wire cooling rack allows air to circulate around the cake, preventing sogginess and speeding up cooling time. Don’t skip this—cooling the cake properly keeps the texture just right.
Spatula
A silicone spatula is useful for scraping down the mixing bowl and spreading batter evenly in the pan. It ensures nothing goes to waste and your batter is evenly distributed. You’ll also use it later for applying frosting or whipped topping.
Step-by-Step Baking Instructions
Step 1: Preheat and Prep
Start by preheating your oven to 175°C (350°F). A properly preheated oven ensures even baking right from the start.
Grease your cake pan with a thin layer of butter or non-stick spray. Then, line the bottom with parchment paper. This prevents the cake from sticking and helps it release cleanly after baking.
Tip: If using round pans, trace the bottom on parchment paper and cut to fit perfectly.
Step 2: Mix Dry Ingredients
In a medium bowl, sift together the flour, baking powder, and salt. Sifting breaks up clumps and evenly distributes the leavening agents.
Set the bowl aside. You’ll add this gradually to your wet mixture later.
Optional: Add cornstarch at this stage if using, for an even softer cake crumb.
Step 3: Cream Butter and Sugar
Place the room-temperature butter in a large mixing bowl. Beat with a hand or stand mixer on medium speed until smooth and creamy.
Gradually add the sugar. Continue beating until the mixture becomes light in color and fluffy in texture—this usually takes about 2 to 3 minutes.
Why this matters: Creaming incorporates air, which helps the cake rise and gives it a tender texture.
Step 4: Add Eggs One at a Time
Add your eggs one at a time, mixing well after each addition. This ensures the eggs emulsify properly with the butter and sugar.
After all eggs are in, scrape down the sides of the bowl to make sure everything is evenly combined.
Avoid rushing this step—it keeps the batter from splitting or curdling.
Step 5: Add Vanilla and Mix
Add in the vanilla extract (or vanilla bean paste). Mix just until it’s incorporated. This is where the signature flavor starts to build.
Use pure vanilla for the best taste—it’s worth it.
Step 6: Alternate Wet and Dry Ingredients
With your mixer on low speed, add the dry ingredients and milk in batches. Start with ⅓ of the flour mixture, then half the milk, and repeat until all is added.
Always start and end with dry ingredients. Mix each addition just until combined—don’t overmix or the cake may become dense.
Optional: Add sour cream or yogurt here if using. Fold it in gently with a spatula for added moisture.
Step 7: Pour into Pan and Smooth Top
Pour the batter evenly into your prepared pan(s). Use a spatula to smooth out the top.
Gently tap the pan on the counter a few times. This helps release any trapped air bubbles for an even bake.
For layer cakes, use a kitchen scale to divide batter equally between pans.
Step 8: Bake
Place the pan(s) in the center of the preheated oven. Bake for 25 to 35 minutes, depending on pan size and oven type.
Start checking around the 25-minute mark. Insert a toothpick into the center—if it comes out clean or with a few moist crumbs, it’s ready.
Avoid opening the oven too early, as it may cause the cake to collapse.
Step 9: Cool and Release
Once baked, remove the pan from the oven and let it rest for 10–15 minutes.
Then, carefully run a knife along the edges and turn the cake out onto a wire cooling rack. Peel off the parchment paper and let it cool completely before frosting or slicing.
Cooling completely helps set the texture and makes frosting easier if desired.
Optional: Frosting & Decoration Ideas
Frosting and toppings can transform a simple vanilla cake into something memorable. Whether you’re going for classic, light, rich, or decorative, here are five great options—each with a distinct flavor and style.
Classic Buttercream Frosting
This is the most traditional and versatile choice. It’s made with butter, powdered sugar, vanilla extract, and a small amount of milk or cream.
To make:
- Beat 1 cup (226g) unsalted butter until smooth.
- Add 3–4 cups (360–480g) powdered sugar gradually.
- Mix in 1–2 tablespoons of milk and 1 teaspoon of vanilla extract until fluffy.
It spreads easily and holds its shape well. Perfect for smooth finishes, piping borders, or decorating with rosettes.
Best for birthdays, parties, or any celebration cake.
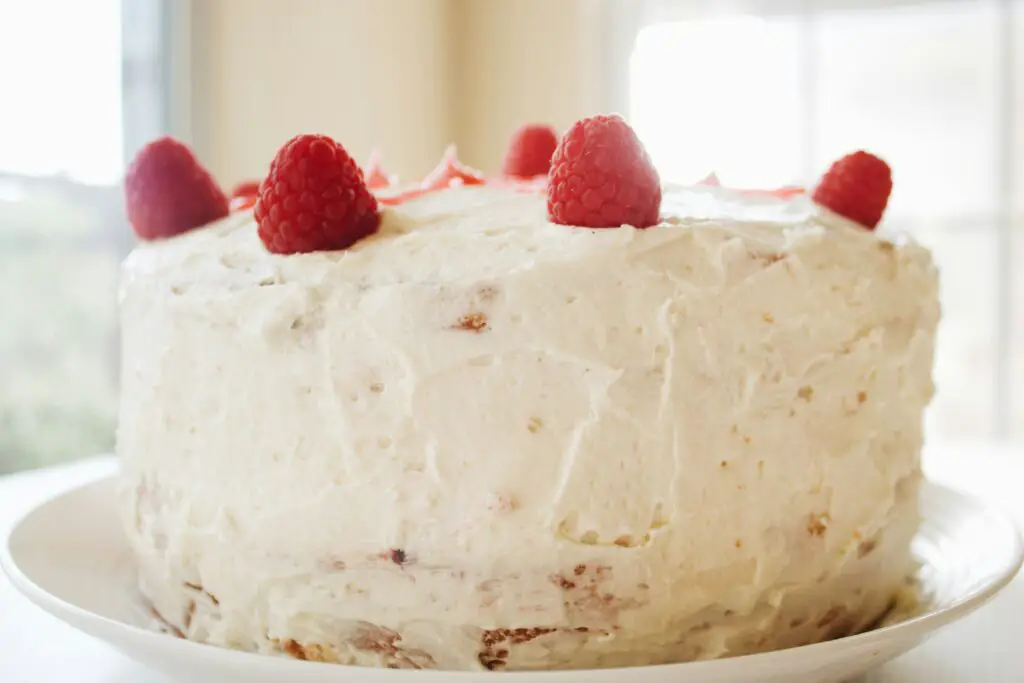
Whipped Cream with Strawberries
If you prefer a light and airy topping, whipped cream is a great option. Pair it with fresh strawberries for a classic twist.
To make:
- Whip 1 cup (240ml) heavy cream with 2 tablespoons powdered sugar and ½ tsp vanilla extract until soft peaks form.
Spread it over the cooled cake and top with sliced strawberries. Keep refrigerated after assembling.
Great for summer desserts or when you want something fresh and less sweet.
Cream Cheese Frosting
This option adds a slight tang that balances the sweetness of the cake. It’s rich, smooth, and works well for layered or single-layer cakes.
To make:
- Beat ½ cup (113g) unsalted butter and 8 oz (226g) cream cheese until smooth.
- Add 2½–3 cups (300–360g) powdered sugar and 1 tsp vanilla extract.
Chill it slightly before spreading if you want a firmer texture. This frosting pairs well with fruit toppings or plain finishes.
Best for those who want a creamy yet slightly tangy flavor profile.
Chocolate Ganache Drizzle
Ganache adds elegance and a deep chocolate flavor. It’s made by combining hot cream with chocolate and stirring until glossy.
To make:
- Heat ½ cup (120ml) heavy cream until steaming.
- Pour over 4 oz (113g) chopped semi-sweet or dark chocolate.
- Let sit for 2 minutes, then stir until smooth.
Drizzle over the cake or let it drip down the sides for a dramatic effect. Allow it to cool slightly before pouring.
Perfect for those who want a rich chocolate finish without full frosting coverage.
Sprinkle Dusting or Edible Flowers
Sometimes, simple is best. Sprinkles or edible flowers add color, texture, and visual appeal without extra sweetness.
Just lightly dust the top of the frosted cake with colorful sprinkles, gold flakes, or edible petals.
Great for kids’ cakes, garden-themed events, or when you want something pretty and quick.
Storage & Shelf Life Tips
Room Temperature Storage (2–3 Days)
If your vanilla cake is unfrosted or frosted with buttercream, you can safely keep it at room temperature for up to 2–3 days. Make sure it’s covered tightly with plastic wrap, foil, or stored in an airtight container.
Keep it in a cool, dry place away from direct sunlight or heat. This helps preserve moisture and prevents the cake from drying out.
Tip: For sliced cakes, press a piece of plastic wrap directly against the cut sides to lock in freshness.
Refrigerated Storage (Up to 5 Days)
If your cake has cream cheese frosting, whipped cream, or fresh fruit, it needs to be refrigerated.
Wrap the cake well or place it in a covered container to prevent it from absorbing fridge odors. It will stay fresh for up to 5 days.
Before serving, allow the cake to sit at room temperature for 20–30 minutes. This brings back the soft texture and improves flavor.
Freezer Storage (Up to 2 Months)
To store longer, the cake can be frozen for up to 2 months. Wrap individual layers or slices tightly in cling film, then wrap again in aluminum foil. Double wrapping helps prevent freezer burn.
Label with the date so you know how long it’s been stored. When you’re ready to use it, thaw the cake overnight in the fridge or for a few hours at room temperature.
Note: Freeze before frosting for best results. Frosted cakes may lose texture after freezing and thawing.
Bonus Tips for Success
Use Room Temperature Ingredients
Cold ingredients don’t mix evenly. Butter, eggs, and milk should be at room temperature before you start. This helps them blend smoothly into the batter and traps more air, giving you a lighter, fluffier cake.
Tip: Take ingredients out of the fridge 30–60 minutes before baking.
Avoid Opening the Oven Door Too Early
Opening the oven door during baking lets heat escape. This can cause the cake to sink in the middle or bake unevenly. Wait until the cake is at least 80–90% baked before checking.
Use the oven light instead of opening the door, especially during the first 20 minutes.
Always Use Fresh Baking Powder
Old or expired baking powder won’t rise properly. Check the expiration date before baking.
To test it, drop a small amount in warm water. If it bubbles right away, it’s still good. If not, replace it to avoid a flat, dense cake.
Cool the Cake Completely Before Frosting
Never frost a warm cake. The heat will melt your frosting and make it slide off or soak in.
Let the cake cool in the pan for 10–15 minutes, then move it to a wire rack. Wait until it’s fully cool to the touch before decorating.
Patience here prevents a frosting disaster.
Final Words
Baking a classic vanilla cake is simple, satisfying, and always worth it.
With basic ingredients and a few easy steps, you can make a soft, delicious cake from scratch.
Give it a try and let us know how it turned out in the comments.
Pair it with your favorite tea or coffee for an extra treat.
Don’t forget to share your cake photos on social media and tag us—we’d love to see them!
Troubleshooting & FAQs
Why did my cake sink in the middle?
This often happens due to overmixing or underbaking. Overmixing the batter can knock out the air needed for the cake to rise. Underbaking means the center stays raw and collapses as it cools. Always mix just until combined, and do the toothpick test before removing from the oven.
Can I use cake flour instead of all-purpose?
Yes. Cake flour has a lower protein content, which makes the crumb softer and lighter. If you want a more delicate texture, it’s a great swap. Use 1 cup + 2 tablespoons of cake flour for every 1 cup of all-purpose flour.
How do I make the cake more moist?
For extra moisture, add 1 to 2 tablespoons of sour cream or Greek yogurt to the batter. It keeps the cake soft and tender without making it heavy. You can also swap out a portion of the butter for oil if you prefer a more moist finish.