There’s something magical about a fresh, homemade bagel—golden on the outside, soft and chewy on the inside. The kind that makes your whole kitchen smell like a bakery.
Bagels may look tricky, but they’re easier than you think. You don’t need fancy gear or bakery experience—just a few smart tips.
Whether you’re a first-timer or your last batch turned out more “dense hockey puck” than “New York classic,” you’re in the right place.
Here are 7 simple but powerful tips to help you bake bagels like a pro, right from your home oven. Let’s roll!
Tip #1: Use High-Protein Bread Flour
If you want that classic bagel chew—the kind that fights back just a little when you bite in—you need high-protein bread flour.
It’s the secret weapon for building strong gluten strands, which give bagels their dense structure and signature texture.
All-purpose flour just doesn’t cut it here; it has less protein, usually around 9–11%, which means weaker dough and softer results.
Bread flour, on the other hand, clocks in at 12–14% protein and creates that tight, elastic crumb bagel lovers chase.
Look for trusted brands like King Arthur Bread Flour (12.7%) or Bob’s Red Mill, both solid picks for consistent quality.
If you’re using a different brand, just check the label—anything 12% and up will do the trick.
Keep in mind: the higher the protein, the more water the dough may soak up, so adjust your hydration slightly if things feel too dry or sticky.
Aim for a firm, smooth dough that holds its shape. Too soft? You’ll lose that chewy bite. Too dry? You’ll wrestle through kneading and shaping.
Find that sweet spot, and you’re already halfway to bagel bliss.
Tip #2: Don’t Skip the Overnight Fermentation
Don’t rush the dough because great bagels need time to develop depth, and that’s where cold fermentation comes in.
Letting your shaped bagels rest in the fridge for 12 to 24 hours slows down the yeast and gives the dough time to build rich, complex flavor while tightening the crumb for that iconic chewy texture.
It’s the difference between “meh” and “wow” when you take that first bite.
To prep ahead, mix and knead your dough, shape your bagels, place them on a parchment-lined tray, and cover tightly with plastic wrap before chilling overnight.
They’ll be ready to boil and bake straight from the fridge—no need to bring them to room temp. Skipping this step won’t ruin your bagels, but they’ll taste flatter and feel puffier, more like rolls than real-deal bagels.
Think of the fridge as your flavor booster and texture enhancer—it’s doing the slow work while you sleep.
Tip #3: Perfect Your Dough Consistency
Bagel dough isn’t like your typical bread dough—it should be firm, dense, and just a bit tacky, not sticky or soft like pizza or sandwich bread dough.
Think of it like playdough with muscle. If it’s too wet, you’ll struggle to shape it and end up with floppy bagels that spread instead of rise.
If it’s too dry, it’ll crack and fight back during kneading. You’re looking for a dough that holds its shape easily and springs back when poked.
During kneading, it should start rough but smooth out after 8–10 minutes by hand or 6–7 minutes in a stand mixer on medium speed.
A stand mixer saves effort, but don’t be afraid to knead by hand—it’s a great workout and helps you feel the dough coming together.
Most importantly, ditch the measuring cups and use a digital scale to weigh your ingredients.
It’s the only way to get consistent hydration, especially with flour, which can vary wildly by volume.
Precise weights lead to predictable results—and in the world of bagels, predictability is a good thing.
Tip #4: Shape with Purpose
Shaping your bagels with purpose is where the magic really starts to show—it’s not just about making a hole in some dough.
There are two solid shaping methods: the rope-and-loop and the poke-and-stretch.
With rope-and-loop, you roll the dough into a thick rope, then wrap it into a circle and pinch the ends to seal.
It gives you more control over size, but that seal can sometimes pop open during boiling if not done right.
The poke-and-stretch method is simpler—just roll the dough into a ball, poke a hole in the center with your finger, then gently stretch and spin it like a mini steering wheel until you’ve got a nice, even ring.
Either way, aim for a hole about 1.5 to 2 inches wide—bagels shrink as they proof and bake. Keep the tops smooth by lightly dusting your hands with flour and avoiding excess pressure.
Don’t overwork the dough or it’ll fight you, and uneven rolling can lead to lumpy, lopsided bagels. Take your time, be gentle, and trust your hands—shaping is part skill, part feel, and a little bit of bagel zen.
Tip #5: Boil with Barley Malt Syrup (or a Substitute)
Boiling your bagels before baking isn’t just tradition—it’s essential.
This quick dip sets the crust, locks in the shape, and gives that signature chewy bite that separates a real bagel from a round dinner roll.
The magic happens in 30 to 60 seconds per side; any longer and your bagels can get tough or overly dense, too short and the crust stays soft.
To level things up, add barley malt syrup to the water—it gives that classic deli-bagel flavor and a beautiful golden hue.
If you can’t find it, a spoonful of honey or brown sugar works in a pinch, though the flavor will be slightly different.
Some folks add baking soda instead for extra browning, but go easy—it can make the crust bitter if overdone.
And here’s the truth: skip the boil, and you’ll bake soft, bready rings with no chew or shine. It’s like calling a graham cracker a s’more—just not the real deal.
Boiling may seem like a weird extra step, but once you see those bagels puff and float, you’ll get it. It’s the bridge between dough and bagel. Don’t skip the bridge.
Tip #6: Bake on a Preheated Surface
Baking your bagels on a preheated surface is a game-changer—it’s the secret to that impressive “oven spring” where your bagels puff up tall and proud instead of spreading flat like sad little dough frisbees.
A pizza stone or baking steel holds heat like a champ, blasting the bottom of the bagel with high, even temps the moment it hits the surface.
No stone? No problem. Just preheat a sturdy baking sheet upside-down in the oven and slide your bagels on parchment right onto it.
You want that oven hot—like 450 to 475°F hot—to lock in structure and build a crisp, golden crust.
If your oven’s cooler than that, the dough will stall and dry out before it even has a chance to rise.
And here’s a pro trick: mist the oven with a little water just after loading the bagels. That quick burst of steam keeps the crust from setting too fast, letting the bagels expand fully and bake with a glossy finish.
It’s like a spa moment before the heat kicks in—and your bagels will thank you for it.
Tip #7: Get Creative with Toppings—The Right Way
Toppings are the cherry on top of your bagel game—except, well, way more savory. The trick is to dress your bagels right after boiling, while the dough is still tacky and slightly damp.
That’s your golden window. If you wait too long, the surface dries out, and the toppings will slide off mid-bake or flake off later like confetti.
For extra sticking power, a light egg wash does the trick, but a quick dip in water or a damp brush is usually enough.
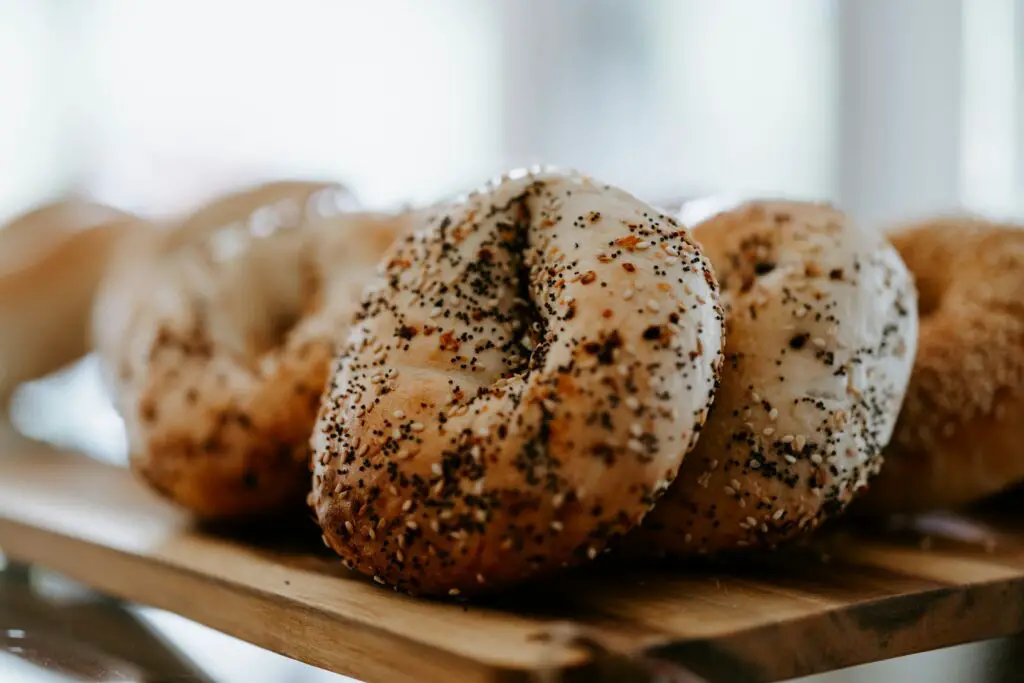
Go classic with sesame seeds, poppy seeds, dried onion flakes, or an everything mix if you’re feeling bold.
Want to freestyle? Try shredded cheese, za’atar, or even cinnamon sugar (for sweet bagels, skip the boil add-ins). Just press gently to help everything stay in place.
Once baked and cooled, any leftover bagels can be frozen—just slice them first for easy toasting later. Store them in a zip-top bag, and boom—bagel bliss on demand.
Bonus Tip (Optional): Use a Kitchen Scale for Accuracy
If there’s one small tool that makes a big difference in bagel baking, it’s a kitchen scale.
Measuring by weight instead of scooping with cups takes out the guesswork—because let’s be honest, one person’s “level cup” is another’s flour avalanche.
Bagel dough needs the right flour-to-water ratio to get that perfect dense chew, and even a small misstep can throw things off.
Using a scale means your dough will behave the same every time, which is gold if you’re just starting out or troubleshooting a past flop.
It also helps you divide the dough evenly so your bagels bake up uniform—no oddballs that burn early or come out half-baked.
A basic digital scale costs about the same as a bag of flour, and it pays for itself in peace of mind (and prettier bagels).
Final Words
Bagels aren’t hard—they just need the right moves and a bit of dough patience.
With these 7 tips, you’ve got everything you need to bake them like a pro, even on your first try.
So roll up those sleeves, boil that water, and give it a go.
Tried it? Tag us in your homemade bagel pics—we’d love to see them!
FAQs
Can I freeze raw bagel dough?
Yes, you can! Shape the bagels first, then freeze them on a tray until solid. Once frozen, transfer them to a zip-top bag.
When ready to bake, thaw overnight in the fridge, then boil and bake as usual. Just expect a slightly longer proofing time after thawing.
Can I make gluten-free bagels?
You can try, but it’s tricky. Bagels rely heavily on gluten for their chew and structure.
Gluten-free versions often need specialty flour blends and binders like psyllium husk to mimic the real thing.
They can be tasty—but don’t expect the classic texture without some recipe tweaking.
Why are my bagels flat or wrinkled?
Flat bagels usually mean over-proofed dough or weak shaping. Wrinkled tops often come from under-proofing or boiling too long.
Another common cause? Dough that’s too soft or overhydrated. Aim for a firm, elastic dough and stick to that sweet spot of 12–24 hours in the fridge.
Can I skip the boil?
Technically, yes—but you’ll end up with round bread, not bagels. Boiling sets the crust, adds chew, and gives that signature bagel finish. Skip it, and you lose the magic.
If you’re short on time, at least give them a quick dunk—it’s worth every second.