
Apple Crisp is the epitome of comfort—a dessert that effortlessly marries simplicity with warmth. With its tender spiced apples and golden, buttery oat topping, this classic remains a beloved favorite across generations. Whether you’re preparing it for a casual family dinner or entertaining guests, apple crisp is a versatile treat that never goes out of style.
What Is Apple Crisp?
Apple crisp is a traditional dessert known for its layered composition: a base of sliced apples seasoned with warming spices, topped with a crumbly mixture of oats, flour, brown sugar, and cold butter.
Unlike cobblers, which use a biscuit-style topping, or crumbles that often omit oats, the hallmark of apple crisp is its signature crispy texture. The contrast between the juicy apple filling and the crunchy topping delivers a satisfying experience in every bite.
Choosing the Right Apples
The quality of your apple crisp begins with the apples. Using the right variety ensures the filling retains both texture and flavor during baking:
- Granny Smith: Firm and tart, perfect for balancing the sweetness of the topping.
- Honeycrisp: A well-rounded option with a crisp texture and sweet-tart flavor.
- Fuji: Naturally sweet with a satisfying crunch, ideal for those who prefer a sweeter profile.
Combining different varieties can enhance the complexity of your crisp. Always opt for fresh, firm apples for the best results.
Ingredients
For the Apple Filling
- 6 large apples (approx. 2½ pounds), peeled, cored, and sliced
- 2 tablespoons granulated sugar
- 2 tablespoons all-purpose flour
- 1 teaspoon ground cinnamon
- ½ teaspoon ground nutmeg
- 2 teaspoons lemon juice
- 1 teaspoon vanilla extract
- ¼ teaspoon salt
For the Topping
- ¾ cup old-fashioned rolled oats
- ½ cup all-purpose flour
- ½ cup packed brown sugar
- 1 teaspoon ground cinnamon
- ½ cup (1 stick) cold unsalted butter, cubed
- Optional: ½ cup chopped nuts (such as pecans or walnuts)
Step-by-Step Instructions
Step 1: Preheat and Prepare
Preheat the oven to 350°F (175°C). Lightly grease a 9×13-inch baking dish with butter or non-stick spray to ensure easy cleanup and prevent sticking.
Step 2: Make the Filling
In a large bowl, combine the sliced apples with sugar, flour, cinnamon, nutmeg, lemon juice, vanilla extract, and salt. Mix until evenly coated, then transfer the mixture to the prepared baking dish.
Step 3: Prepare the Topping
In a medium bowl, whisk together the oats, flour, brown sugar, and cinnamon. Add the cold butter and incorporate it using a pastry cutter, two forks, or your fingertips until the mixture resembles coarse crumbs. Stir in the chopped nuts, if using.
Step 4: Assemble and Bake
Evenly distribute the topping over the apple filling. Bake for 45 to 50 minutes, or until the topping is golden and the apples are tender. Let cool slightly before serving to allow the crisp to set.
Serving Suggestions
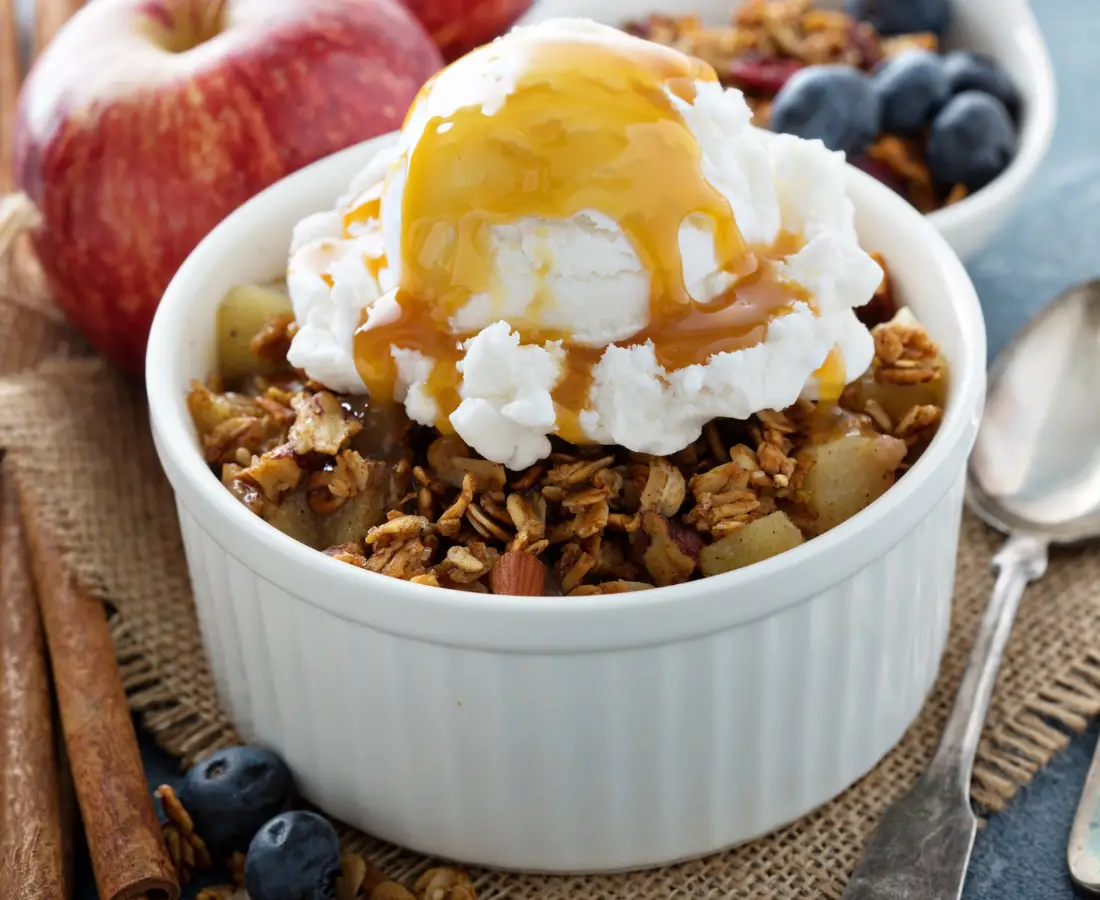
Apple crisp is best served warm to fully enjoy the contrast between the spiced fruit and crunchy topping. Enhance the experience with:
- A scoop of vanilla ice cream
- Freshly whipped cream
- A drizzle of warm caramel sauce
Pair it with a cup of coffee or tea for a cozy, comforting dessert perfect for any time of year, especially during cooler months.
Variations and Substitutions
Gluten-Free Option
Replace all-purpose flour with a gluten-free flour blend that includes a binding agent like xanthan gum. Ensure oats are certified gluten-free to avoid cross-contamination.
Nut-Free Version
Omit chopped nuts from the topping if accommodating a nut allergy. The texture will still be satisfying and crisp.
Natural Sweeteners
Use alternatives like coconut sugar for a rich, caramel flavor or honey for a milder sweetness. Adjust quantities based on your preferred level of sweetness.
Fruit Additions
Introduce other fruits such as blueberries, raspberries, or sliced pears for added flavor and visual appeal. Mix them with the apples while keeping moisture levels balanced.
Storage and Reheating
Storage: Once cooled, store apple crisp in an airtight container. It can be kept at room temperature for up to two days or refrigerated for up to five days.
Reheating:
- Oven: Reheat at 350°F (175°C) for 10–15 minutes to restore the topping’s crispness.
- Microwave: For individual portions, heat on medium for 30–60 seconds, though the topping may soften.
Make-Ahead and Freezing
Make-Ahead:
Prepare the filling and topping in advance and store separately in the refrigerator. Assemble and bake when ready to serve.
Freezing:
Assemble the entire crisp in a freezer-safe dish but do not bake. Wrap tightly and freeze for up to three months. Bake from frozen at 350°F (175°C), adding 10–15 minutes to the standard bake time.
Conclusion
Apple crisp is a timeless dessert that blends nostalgic charm with everyday ease. With just a few simple ingredients, you can create a crowd-pleasing dish that’s adaptable to dietary needs and flavor preferences.
Give this classic a try, and explore additional recipes on the blog for more delicious inspiration.
Frequently Asked Questions
Can I leave the apple skins on?
Yes. While peeling provides a smoother texture, leaving the skins on adds a rustic feel and extra fiber.
Can I use quick oats instead of old-fashioned oats?
Yes. Quick oats work well but result in a softer topping compared to the heartier texture of rolled oats.
What if I don’t have lemon juice?
Apple cider vinegar is a suitable substitute. If omitted entirely, the filling may lose some brightness, but the dish will still be flavorful.