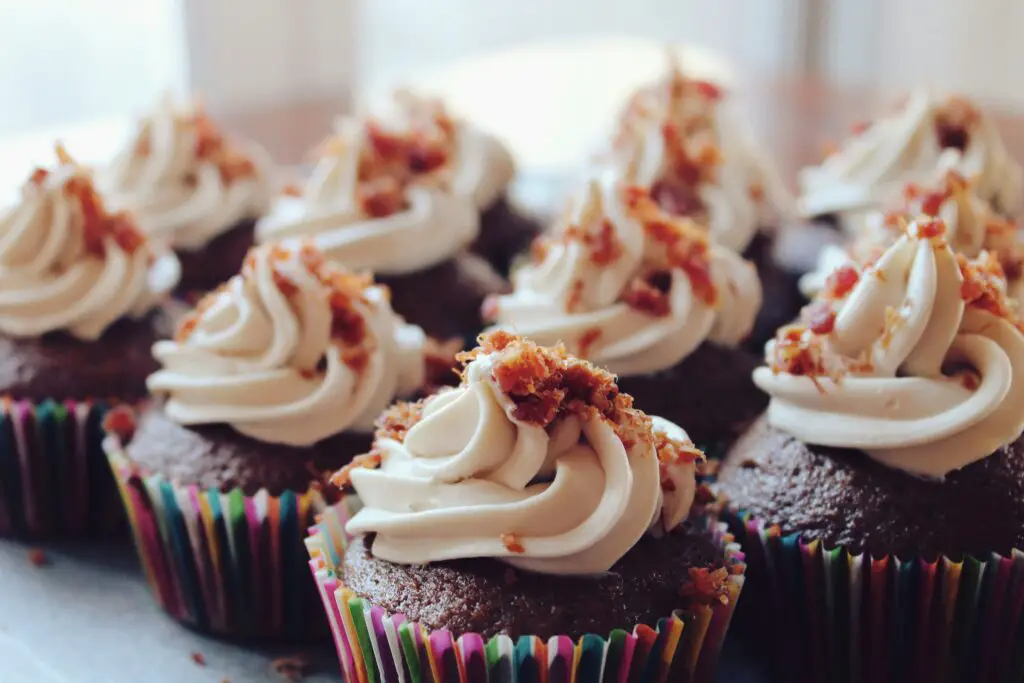
Cupcakes are little canvases waiting for your creative touch. And guess what? You don’t need to be a pastry chef to make them look amazing.
Decorating can be fun, stress-free, and surprisingly simple—no fancy tools or training needed. Whether you’re baking for a party, a date night, or just for fun, these ideas are made for real people with real kitchens.
Here are 7 unique cupcake decorating ideas anyone can try—even if your last “masterpiece” was a lopsided pancake.
1. Buttercream Swirl with a Twist
The classic buttercream swirl gets a colorful upgrade with this simple, eye-catching twist.
Start by preparing two or more shades of buttercream—think pastels for spring, bold primaries for kids’ parties, or even ombré tones for a dreamy effect.
Lay out a sheet of plastic wrap, pipe each color in a line side-by-side, then roll it up like a log and snip one end. Drop it into your piping bag fitted with a 1M or 2D star tip (both beginner-friendly and great for volume), and gently squeeze.
You’ll see the colors swirl together as you pipe in a steady circular motion from the outside in. Keep the bag vertical for those tall, bakery-style peaks.
If your swirl feels flat, chill your frosting slightly or slow down your piping.
Want that wow factor? Finish with a pinch of edible glitter, a light shower of rainbow sprinkles, or a few sugar pearls on top.
It’s low effort, high impact, and honestly—kind of addictive. Even if you mess up, it still looks delicious, and that’s half the battle won.
2. Stenciled Designs with Powdered Sugar or Cocoa
Stenciled cupcakes are perfect when you want something stylish without getting your hands sticky.
Start by either buying small cupcake-sized stencils online or making your own at home—just cut shapes into parchment paper or thin plastic sheets using a craft knife or small scissors.
Think simple: hearts for Valentine’s, stars for birthdays, snowflakes for winter, or even initials for a personalized touch.
Once your cupcakes are frosted with a smooth, flat layer—like buttercream that’s been chilled slightly—gently lay the stencil on top.
Then, using a fine mesh strainer, dust powdered sugar or cocoa evenly over the stencil.
Carefully lift it straight up, and voilà! You’ve got a clean, crisp design that looks way fancier than the effort it took.
It’s a great option when you’re short on time but still want that “wow” moment. Plus, the results are minimalist, elegant, and always Instagram-ready.
3. Candy Mosaic Toppings
Candy mosaic cupcakes are as fun to make as they are to eat—especially if you’ve got kids with sticky fingers and wild imaginations.
Start with a smooth layer of frosting or a thin spread of ganache on top of each cupcake (you want it slightly tacky so the candy sticks).
Then grab your favorite colorful bits—M&Ms, Skittles, jellybeans, or mini gummies work great—and let the decorating begin.
You can map out simple patterns like stripes or polka dots, spell out names or initials, or go big with rainbow arcs and pixel-style designs.
A smiley face using two M&Ms for eyes and a gummy worm for the mouth? Instant crowd-pleaser. It’s like edible LEGO.
Let the kids take over for birthday parties, or use themed candy colors for holidays. Just don’t be surprised if half the toppings “accidentally” get eaten during the process.
4. Edible Flower Garden
Turning cupcakes into tiny flower gardens is easier than it looks—and way more charming than your average sprinkle job.
You’ve got two main routes here: pipe your own buttercream blooms or top with real edible flowers.
For piping, use petal tips like Wilton 104 or 127 and start with simple shapes like roses or daisies.
Practice a few on parchment first if you’re nervous. Mix up your colors—soft pinks, purples, and pale yellows always feel fresh, but bold combos like coral and teal can steal the show too.
If piping feels like too much work, edible flowers like pansies, violets, or marigold petals are a beautiful shortcut.
Just press them gently into the frosting and let their natural beauty do the talking.
These floral cupcakes are perfect for spring teas, baby showers, or bridal brunches—basically, anywhere you want to show up with something that says “fancy” without being fussy.
5. Mini Cupcake Toppers with Printables
Mini cupcake toppers are the ultimate low-effort, high-impact decorating hack—especially when time is tight but you still want that “Pinterest mom” vibe.
All you need are printed designs (think tiny flags, cartoon characters, seasonal icons, or party themes), some toothpicks, and a bit of tape or glue.
Cut out your shapes, tape them to the top of the toothpick, and stick them straight into the cupcake.
Boom—instant upgrade. You can match them to birthdays, baby showers, holidays, sports teams, or even quirky inside jokes.
Want a jungle theme? Use little animals. Movie night? Add popcorn or film reel graphics.
There are loads of free printables online if you don’t feel like designing your own—just search “[your theme] cupcake topper free printable.”
Bonus tip: Print on cardstock so they stand tall without flopping over. It’s cheap, it’s quick, and it makes your cupcakes look like they came straight out of a bakery window.
6. Painted Buttercream Art
Painted buttercream art is where baking meets actual painting—and no, you don’t need to be the next Van Gogh to pull it off.
Start with a flat, smooth layer of white buttercream on your cupcake (chill them a bit to firm up the surface).
This becomes your “canvas.” Then mix gel food coloring with a tiny bit of vodka or lemon extract—just enough to thin it slightly without making it runny.
Using a clean, food-safe brush, gently paint your design right onto the buttercream. Think soft watercolor flowers, playful abstract shapes, or even simple lettering like “hi” or “yum.”
If you’re new to this, start small: a few petals or colorful dots can still look impressive. Don’t overload your brush, and take your time—this isn’t a race.
You can always add, but you can’t take away. It’s relaxing, artsy, and the best part? Even a “mistake” still ends up delicious.
7. Upside-Down Treats
If you really want your cupcakes to stand out—literally—try stacking another treat on top. Yep, we’re talking upside-down donuts, cookies, or even cake pops perched right on the frosting.
It’s over-the-top in the best way possible. First, make sure your base cupcake is frosted with something sturdy like a thick buttercream; you want a little grip to hold the treat in place.
Gently press your donut, cookie, or cake pop into the center, pressing just enough so it doesn’t slide off.
You can even insert a small skewer or straw down the middle if it needs extra support. Want to take it up a notch? Drizzle chocolate ganache, caramel syrup, or even strawberry sauce over the top so it runs down the sides like a little edible waterfall.
This kind of cupcake is perfect for birthdays, dessert buffets, or any party where “extra” is the vibe. It’s playful, attention-grabbing, and yes—completely irresistible.
Bonus Tips
Storage & Transport Tips for Decorated Cupcakes
Decorated cupcakes are delicate little masterpieces, so they need the right setup to survive storage and travel. Use a deep container with a lid that doesn’t squash your frosting.
Cupcake carriers with tall domes are perfect, but a clever workaround is flipping a large plastic storage bin upside down—use the lid as your base and the bin as your cover.
For transport, keep them cool, avoid direct sunlight, and never stack them. If they’ll be sitting out for a while, skip soft frostings that might melt.
Best Cupcake Frostings for Decorating
When it comes to decorating, not all frostings are created equal. American buttercream is a go-to—it’s easy to whip up, holds its shape, and works great for piping.
Swiss meringue buttercream is smoother and less sweet, but a bit more sensitive to heat.
Cream cheese frosting is delicious, but softer, so it’s best for simple swirls rather than tall designs. Stick with frostings that firm up slightly after setting so your toppings stay in place.
Budget-Friendly Decorating Tools
No piping kit? No problem. Grab a ziplock bag, fill it with frosting, and snip a corner—instant piping bag.
Want toppers? Print your own designs, tape them to toothpicks, and boom—custom cupcake flair. Stencils can be homemade from parchment paper or plastic lids.
Don’t let a lack of tools stop your creativity. With a little DIY spirit, you can still decorate like a rockstar on a ramen budget.
Final Words
Decorating cupcakes doesn’t have to be fancy or complicated—just fun. With a little creativity and a few simple tools, anyone can make treats that look as good as they taste.
Try one idea this weekend, or mix and match a few. Got a favorite tip or a decorating win? Drop it in the comments.
Tried one? Tag us in your cupcake creations—we’d love to see your sweet masterpieces!


